
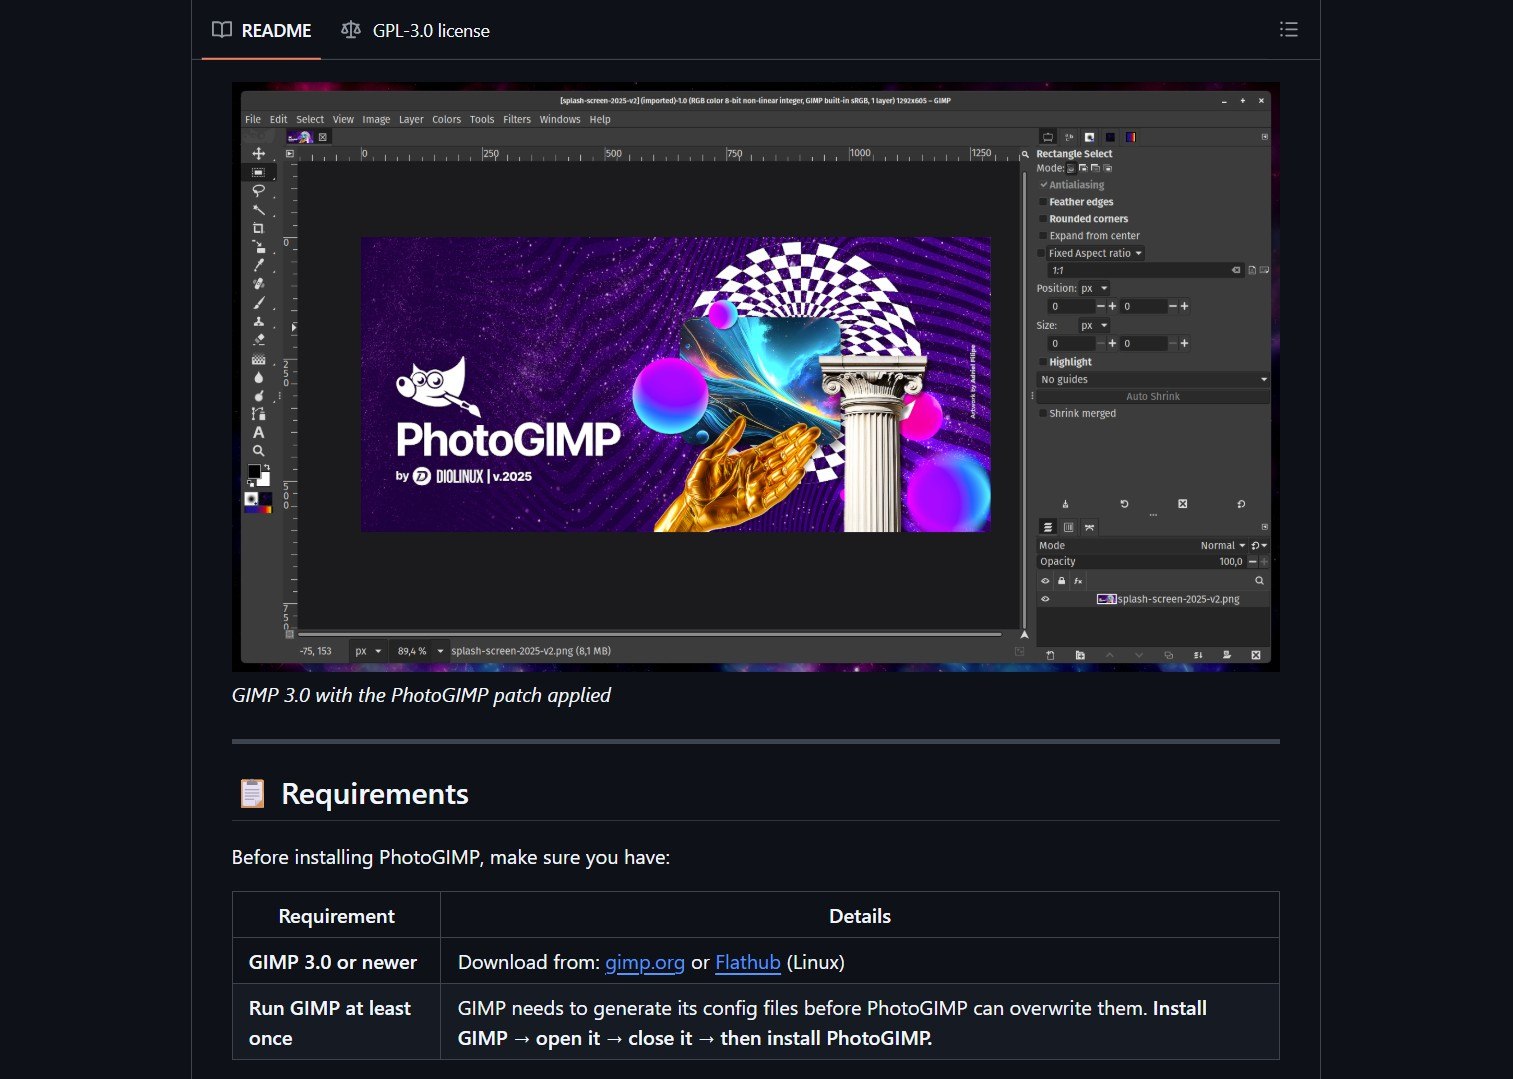
PhotoGIMP is a community-driven configuration patch by Diolinux that transforms GIMP 3.0+ into a layout Photoshop users can navigate immediately.


- Project link: github.com/Diolinux/PhotoGIMP
What PhotoGIMP Changes
Instead of modifying GIMP’s source code, PhotoGIMP overwrites the configuration files inside GIMP’s user profile directory. This means you get an entirely new experience without recompiling anything.
| File | What It Does |
|---|---|
| shortcutsrc | Keyboard shortcuts mapped to match Adobe Photoshop (Windows layout) |
| toolrc | Tool ordering and grouping aligned with Photoshop’s toolbar |
| sessionrc | Window layout and panel docking positions |
| gimprc | General preferences including maximized canvas and grid defaults |
| splashes/ | Custom PhotoGIMP splash screen on startup |
| theme.css | Minor UI theme adjustments for consistency |
| templaterc | Pre-defined canvas templates matching common Photoshop presets |
The patch also installs a custom .desktop file on Linux so PhotoGIMP shows up as its own app with a dedicated icon in your system menu.
[!NOTE]
PhotoGIMP only touches configuration files. Your custom brushes, fonts, gradients, and plug-ins are never touched. If you ever want to revert, just delete the 3.0 folder inside GIMP’s config directory and restart the app.
How to Install on Any OS
PhotoGIMP works on Linux, Windows, and macOS. Before installing, make sure you have GIMP 3.0 or newer installed and have launched it at least once so the config folders exist.
Linux (Flatpak)
Back up your current settings if needed:
cp -r ~/.config/GIMP/3.0 ~/GIMP-3.0-backup
Download the Linux ZIP and extract it into your home folder (~). The files go into ~/.config and ~/.local. Open GIMP and you will see the new layout.
Windows
Back up by copying %APPDATA%\GIMP\3.0 to a safe folder. Download the Windows ZIP, extract it, copy the 3.0 folder, and paste it into %APPDATA%\GIMP. Choose “Replace the files in the destination” when prompted.
You can also install via Chocolatey with a single command:
choco install photogimp
macOS
Back up by copying ~/Library/Application Support/GIMP to a safe location. Download the macOS ZIP, extract the 3.0 folder, and paste it into ~/Library/Application Support/GIMP. If you see a 2.10 folder from a previous GIMP install, delete it first to avoid conflicts.
How to uninstall PhotoGIMP
To remove PhotoGIMP and restore default GIMP settings, delete the config folder and restart GIMP. It will regenerate fresh defaults.
- Linux: rm -rf ~/.config/GIMP/3.0
- Windows: Delete %APPDATA%\GIMP\3.0
- macOS: Delete ~/Library/Application Support/GIMP/3.0
If you made a backup earlier, copy it back instead of letting GIMP recreate defaults.
What People Are Saying
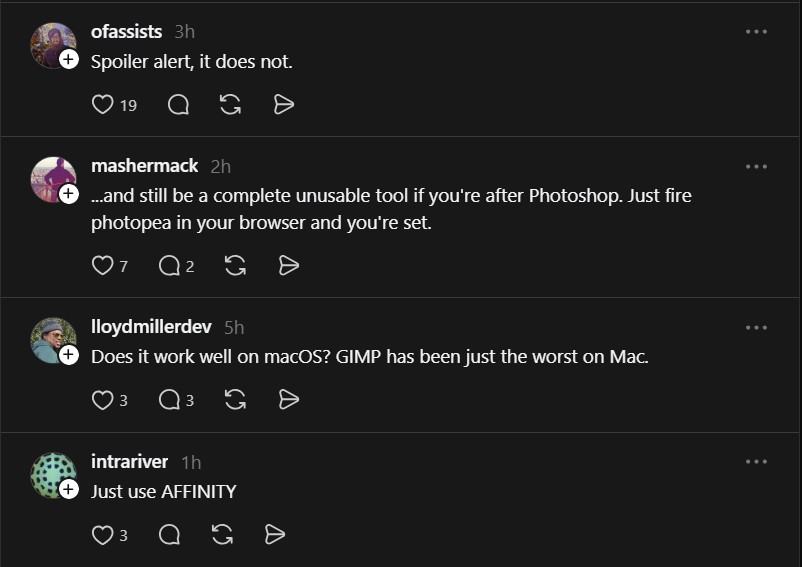
The Threads post sparked a lively discussion. Some users were skeptical:
“Spoiler alert, it does not.” — @ofassists
“…and still be a complete unusable tool if you’re after Photoshop. Just fire photopea in your browser and you’re set.” — @mashermack
Others suggested alternatives like Affinity and Photopea. The sentiment is split, but the fact remains: PhotoGIMP is the fastest way to make GIMP feel familiar if you are coming from Photoshop. It is not a Photoshop clone, it is a bridge that lowers the learning curve.
| Alternative | Cost | Platform |
|---|---|---|
| PhotoGIMP + GIMP | Free | Linux, Windows, macOS |
| Photopea | Free (web) | Browser |
| Affinity Photo | Paid | Desktop |
| Adobe Photoshop | Subscription | Desktop, iPad |
For creating custom graphics from scratch, MapToPoster turns city maps into printable posters using OpenStreetMap data. And if you work with 3D design assets, Three.js syncs 3D scenes across Windows for collaborative rendering workflows.
PhotoGIMP by Diolinux solves one specific problem: the unfamiliar GIMP UI. If you have been wanting to ditch Adobe but could not stomach the workflow reset, this patch is worth trying.
If you enjoy articles about top GitHub repositories like this, don’t forget to subscribe to Technolati.com.